
Docker Multi-Stage Builds: Shrink Your Image Size by 80%
A practical, no-fluff guide to Docker multi-stage builds: what they are, why your images are probably bloated, and how to cut them down with real Dockerfile examples for Node.js, Go, and Python.
If you've ever run docker images and quietly winced at a 1.2GB tag next to your 40-line application, you're not alone. Most Docker images aren't bloated because developers are careless — they're bloated because the default way people learn to write Dockerfiles carries a lot of baggage from the build process straight into production.
Multi-stage builds fix that. They let you use one image to compile, test, and package your app, then throw all of that away and ship only what the app actually needs to run. No plugins, no third-party tools, no changes to your CI pipeline beyond editing a single file. Just a smarter Dockerfile.
In this guide, we'll break down exactly why images balloon in size, how multi-stage builds solve it, and walk through real Dockerfiles for Node.js, Go, and Python — the three stacks where this technique tends to matter most.
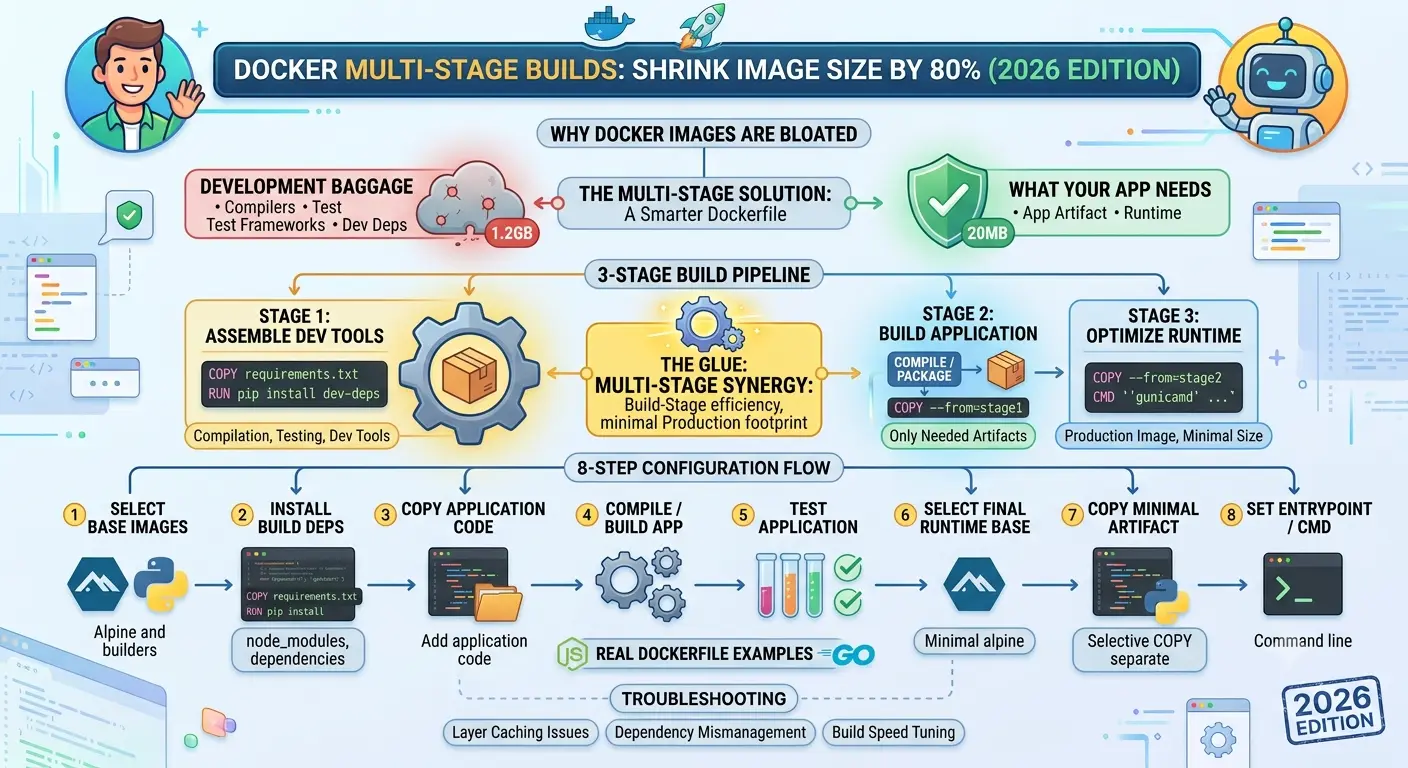
Why Your Docker Images Are Bigger Than They Should Be
A typical single-stage Dockerfile looks something like this: pick a base image, copy your source code in, install dependencies, build the app, and set a start command. The problem is that every tool you needed to build the app — compilers, package managers, dev dependencies, build caches, source maps, test files — ends up permanently baked into the final image, even though none of it is needed to actually run the thing.
Here's what typically ends up shipped to production without anyone noticing:
- Compilers and build toolchains (gcc, make, TypeScript compiler)
- devDependencies from
npm installorpip install -r requirements-dev.txt - Package manager caches that were never cleaned up
- Raw source files and test suites that have no runtime purpose
- Intermediate build artifacts nobody ever deletes
None of this is a bug — it's just how a single build stage works. Everything that touches the filesystem during the build sticks around in the final layers unless you go out of your way to remove it, and even then, deleted files in a later layer don't actually shrink the image; the data is still sitting in the earlier layer underneath.
What a Multi-Stage Build Actually Does
A multi-stage Dockerfile uses more than one FROM instruction. EachFROM starts a new, isolated build stage with its own filesystem. You can name stages, and — this is the important part — copy specific files from one stage into another using COPY --from=.
In practice, that means you can have a "builder" stage with a full toolchain — Node, npm, TypeScript, whatever you need — do all the heavy lifting there, and then copy just the compiled output into a clean, minimal final image. The builder stage, and everything wasteful inside it, never becomes part of the image you actually ship.
A Minimal Example
# Stage 1: build
FROM golang:1.22 AS builder
WORKDIR /app
COPY . .
RUN go build -o server .

# Stage 2: run
FROM alpine:3.19
WORKDIR /app
COPY --from=builder /app/server .
CMD ["./server"]
The final image here is built from alpine, a base that's roughly 7MB, plus a single compiled binary. The entire Go toolchain — which alone is several hundred megabytes — never leaves the builder stage. That's the whole trick.
Node.js: Multi-Stage Build Walkthrough
Node.js projects are a textbook case for multi-stage builds becausenode_modules tends to include a large chunk of devDependencies — testing frameworks, bundlers, linters, type definitions — that a running app never touches.
# Stage 1: install deps and build
FROM node:20-alpine AS builder
WORKDIR /app
COPY package*.json ./
RUN npm ci
COPY . .
RUN npm run build

# Stage 2: production image
FROM node:20-alpine AS runner
WORKDIR /app
ENV NODE_ENV=production
COPY package*.json ./
RUN npm ci --omit=dev
COPY --from=builder /app/dist ./dist
USER node
CMD ["node", "dist/index.js"]
A few details worth noticing:
- The builder stage installs all dependencies, because build tools like TypeScript or Webpack live in devDependencies.
- The final stage reinstalls with
--omit=dev, so only production dependencies land in the shipped image. - Only
dist— the compiled output — is copied over. Raw.tssource files never make it into the final image. - Switching to the non-root
nodeuser is a small addition, but it closes off a real security gap that single-stage Dockerfiles often leave open by default.
Python: A Slightly Trickier Case
Python images can be sneaky because pip caches and compiled wheels tend to hide in places people forget to check. Here's a pattern that works well for a typical Flask or FastAPI service:
# Stage 1: build dependencies
FROM python:3.12-slim AS builder
WORKDIR /app
COPY requirements.txt .
RUN pip install --user --no-cache-dir -r requirements.txt

# Stage 2: runtime image
FROM python:3.12-slim
WORKDIR /app
COPY --from=builder /root/.local /root/.local
COPY . .
ENV PATH=/root/.local/bin:$PATH
CMD ["python", "app.py"]
The --user flag installs packages into a predictable, isolated directory (/root/.local), which makes it easy to copy just the installed packages into the runtime stage without dragging along pip's build cache or any compiler toolchain that was needed to build wheels from source.
Beyond Two Stages: Testing and Linting in the Pipeline
One underused feature of multi-stage builds is that you can add stages purely for CI — they never need to be built into the final image at all. This lets your Dockerfile double as documentation for your entire build and test process.
FROM node:20-alpine AS base
WORKDIR /app
COPY package*.json ./
RUN npm ci

FROM base AS test
COPY . .
RUN npm run lint && npm test

FROM base AS builder
COPY . .
RUN npm run build

FROM node:20-alpine AS runner
WORKDIR /app
ENV NODE_ENV=production
COPY --from=builder /app/dist ./dist
COPY package*.json ./
RUN npm ci --omit=dev
CMD ["node", "dist/index.js"]
In CI, you'd target the test stage explicitly with docker build --target test . to fail fast on lint or test errors, before ever spending time on the production build. The final docker build . (which defaults to the last stage) skips the test stage entirely since nothing in the runner stage depends on it.
How Much Does This Actually Save?
Numbers vary by stack, but the pattern is consistent enough to generalize. Here's a realistic before-and-after for a few common setups:
| Stack | Single-Stage Image | Multi-Stage Image | Reduction |
|---|---|---|---|
| Node.js + TypeScript API | ~1.1 GB | ~180 MB | ~84% |
| Go HTTP service | ~900 MB | ~15 MB | ~98% |
| Python (FastAPI) | ~950 MB | ~220 MB | ~77% |
| React static site (via Nginx) | ~1.3 GB | ~45 MB | ~96% |
Compiled languages like Go see the most dramatic drops because the entire toolchain gets discarded. Interpreted languages like Python and JavaScript still see big wins, mostly from dropping devDependencies and build artifacts, but the runtime itself has to stay in the final image, so the floor is a bit higher.
Practical Tips That Compound the Savings
Multi-stage builds are the biggest lever, but a few smaller habits stack on top of them nicely:
- Start from slim or alpine base images in your final stage —
node:20-alpineinstead ofnode:20alone saves several hundred megabytes before you've written a single instruction. - Order your Dockerfile instructions by change frequency. Copy
package.jsonand install dependencies before copying the rest of your source code, so Docker's layer cache doesn't get invalidated every time you edit a file that has nothing to do with dependencies. - Use a
.dockerignorefile. Without one, Docker happily copies your.gitfolder, localnode_modules, and test coverage reports into the build context, which slows builds down even if they never make it into the final image. - Combine
RUNinstructions where it makes sense to avoid creating unnecessary intermediate layers, and clean up package manager caches in the sameRUNstep that created them — not a later one. - Pin base image versions.
node:20-alpineis far more predictable thannode:latest, both for image size and for avoiding surprise breakages when the base image updates upstream.
Common Mistakes to Avoid
A few pitfalls come up often enough that they're worth calling out directly:
- Copying too much between stages.
COPY --from=builder /app .defeats the purpose if/appstill contains source files and dev dependencies. Be specific about which directories you actually need. - Forgetting to reinstall production-only dependencies in the final stage after copying build output — it's easy to copy the compiled app but forget that
node_modulesfrom the builder stage still has devDependencies in it. - Running as root in production. It doesn't affect image size, but since you're already editing the Dockerfile, it costs nothing to add a
USERinstruction and close an easy security gap. - Not using named stages.
FROM node:20 AS builderis far easier to reference and debug than an unnamed stage referenced by index number.
Wrapping Up
Multi-stage builds aren't an advanced or niche Docker feature — they're close to a default best practice at this point, and for good reason. The change is usually just a few extra lines in a Dockerfile you already have, and the payoff shows up immediately: faster pulls, faster deploys, smaller attack surface, and lower registry storage costs.
If you're maintaining images that are still built in a single stage, it's worth an hour of your time to convert one and measure the difference yourself with docker images. In most cases, the number you see afterward is enough to convince you to convert the rest.

AI & Web Development Specialists
The Kodivio team covers AI tools, automation, and modern web development based on real-world testing and hands-on experience.
Learn more about us →